 Rawlins Paints Blog Industrial Paint Tips, Guidelines & DIY Articles
From the Ground Up Tips
Rising Damp Treatment
Treating rising damp goes beyond buying a Leonard Rossiter boxset on Amazon to meet your comedy cravings – it means physically dealing, head-on, with the root cause of a potentially expensive problem.
Rising damp is an often misdiagnosed problem and there are many people who believe painting over mould or washing down walls will stop it from coming back. Rising damp is not simply mould or mildew, it is an underlying condition that will continue to be recurring until sufficient actions have been put into place to resolve moisture coming up from the ground and into your walls. It can cause serious discolouration of walls (paint and wallpaper), decay to the building’s foundations, heat-loss of a property and a foul odour – all of which can affect your health.
This post will discuss how to treat rising damp – what symptoms to look for, which paints and coatings can work internally and externally once the problem has been resolved, and rising damp solutions – how injecting SikaMur InjectoCream 100 into a series of holes in the wall can form a water repellent barrier to block future rising damp and also allow previously damaged plaster to dry out.
Click to a Section:
- What is Structural Damp?
- What is Rising Damp?
- Capillary Action.
- How to Spot Rising Damp.
- Who is Affected by Rising Damp.
- How to Prevent Rising Damp.
- Checks.
- Repairing Rising Damp Damage.
- Step 1: Creating a Damp Proof Barrier.
- Step 2: Repairing Damage to Walls.
- Step 3: Decorating Interior and Exterior Walls.
- Looking to the Future.
- Additional Products We Recommend to Keep Damp, Fungal Growth and Mould at Bay.
What is Structural Damp?
Structural dampness is excessive and unwanted moisture within a building’s overall structure and not just its foundation. It can be caused by internal condensation from heating, steam from white goods (washing machines and tumble driers) or cookers – find out the difference between damp and condensation in this blogpost. It can also be caused from an ‘intrusion’ of moisture from the outside – for example, from damaged guttering where water literally pours down brick walls or cladding, vertical drain-pipes too close to the wall, and blocked drains. Rising damp can lead to worsened structural damp.
Rawlins Paints will soon be writing a full post on structural damp and how to best treat it.
What is Rising Damp?
What causes rising damp in internal walls
As opposed to structural damp, where moisture can come from above or at varying heights (the ceiling for example), rising damp comes from the ground underneath or around the walls and fixtures of a property – it is the actual movement of moisture inside of a permeable wall structure.

This damp, or moisture, is literally sucked from the ground and slowly rises up through vulnerable building and decorative materials – brick, concrete, stone, etc. Climbing to an approximate height of 1.2m – although it has been documented to reach as high as 5m – it is prevalent in ground supported structures by capillary action. Visibly, salt deposits can be seen higher-up walls, as part of the rising damp problem. ‘Non-breathing’ materials, like vinyl wallpaper or plaster, render and non-breathing paints can exacerbate the visual problems associated with damp.
It is worth noting that at the time of writing this post, in the UK we are moving toward the seasonal periods when rising damp can be at its worse. It is documented that moisture does climb higher during colder, wetter winter months – as evaporation is inhibited.
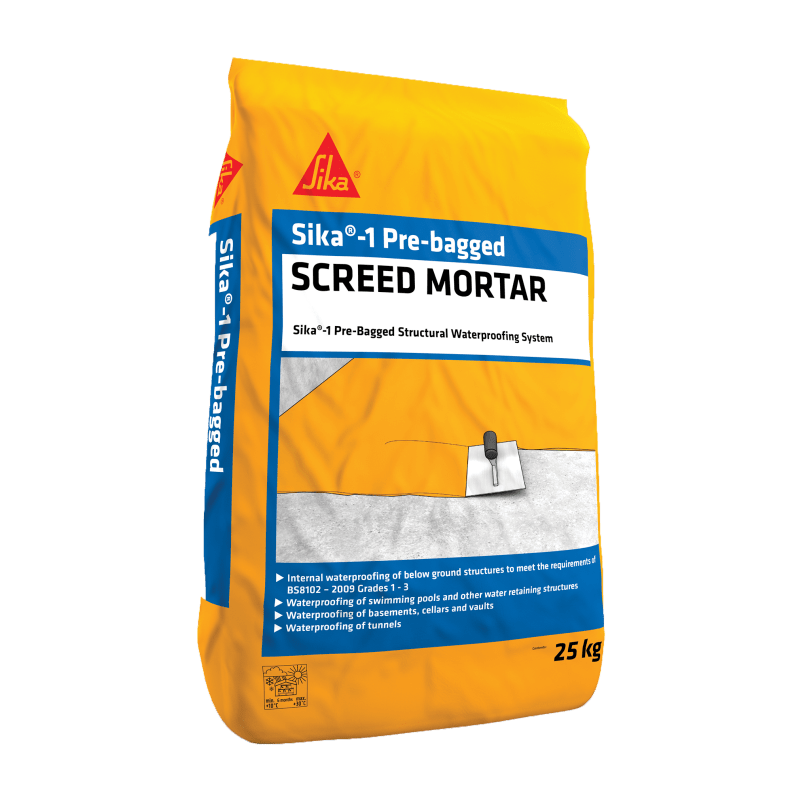
It is not only a visual and odorous problem, if untreated, rising damp can cause decay in brick, timber, masonry and plasterwork. If your property has gotten to the stage where plasterwork is crumbling away, you may need Sika 1 Render Mortar, part of Sika 1’s structural waterproofing system, which is the second layer of the wall render system that can be applied after SikaMur InjectoCream 100 has created a new Damp Proof Course.
Sika 1 Pre-Bagged Screed Mortar
|
Capillary Action
In opposition to gravity, capillary action is water’s ability to flow through gaps and small spaces, without exertion. Dipping kitchen roll into a puddle is one way of seeing how capillary action works. Capillary action is also known as wicking and can happen in both porous and non-porous materials.
Capillary action was first observed by Leonardo da Vinci – yes, the artist who painted the Mona Lisa – and several chemists in the 17th century conducted a number of scientific and experimental tests on this ‘rising water’ phenomenon. Wikipedia has an excellent article about the history of capillary action – read it here.
How to Spot Rising Damp
When looking for signs of rising damp, keep an eye out for:
- A yellow or brown tide line from the damp
- Yellow, brown or blown plaster directly above skirting boards
- Rotten, split or soft-to-the-touch skirting boards and floorboards adjacent to walls
- ‘Salted’ white and fluffy deposits in and on the plaster
- Typical mould, fungi and mildew discolouration
Typical for diagnosing rising damp, the yellow or brown tide mark (a salt deposition) can actually be what is left remaining after the damp problems have ‘dried out’. They also may have occurred from other damp/moisture related issues or incidents.
Check outside the property, at ground level, for defective, even boggy ground, with poor surface drainage. This could be from soil and earth, or pooling of water from incorrectly sloping driveways or pathways adjacent to a wall. Longstanding plumbing issues or water pipe damage can also cause underground moisture to pool from drainage deficiencies.
It is advised to regularly check the lower six inches of walls around a property – pulling out furnishings, cabinets, shelving, etc. – as rising damp could occur one year, after having no historical problems with it (see drainage related issues above). Landlords should take extra note to check properties with breaks in-between tenancy – as changes in room temperatures/fluctuating humidity can affect moisture creation (where a room was once kept warm and then is left cold for a period of weeks of months).
Remember that damp can occur in carpets around a wall, but not from a rising damp problem. Do not diagnose rising damp simply from smelly carpets, bubbled vinyl flooring or peeling tiles.
New home-buyers may seek advice on local flood plains and drainage on neighbouring properties, to pre-empt rising damp conditions in their property.
Who is Affected by Rising Damp
Rising damp affects millions of properties across the UK, from Grade A listed buildings – archaic and historical – to massive supermarkets and tower blocks. It is not restricted to residential premises, where it does have a big impact on person’s health, but can strike in workplaces, food factories (as an example of an industry where lots of moisture and steam is created than can penetrate or pool on the floor), and commercial properties, too.
A common misconception is that Damp Proof Courses (introduced in 1875) will automatically prevent rising damp. There are, however, a number of complications that can limit their withstanding of and prevention to damp rising – discussed later.
Some buildings may have air bricks (vent bricks) instead of or inclusive of DPCs. These may, over time and through previous occupancy, have been sealed up, become blocked (internally or externally), or partly obstructed by furniture. This can cause condensation, rather than ‘treat’ it.
Damp Proof Courses are not infallible and previous tenants, or even the original builders, could have built around them and opened the door, so to speak, for rising damp.
How to Prevent Rising Damp
Checks
First things first, please check that your property has a Damp Proof Course (DPC) – a visible line 6 inches above the ground on the exterior wall:
- Is the neighbouring property’s DPC higher than yours?
- Do you have any steps, ramps or adjoining structures (coal-bunkers for example) that meet the external wall higher than the DPC?
- Are there any internal bridging structures (structural cupboards, stairs, fireplaces, etc) that reach higher than the cavity walls’ DPC?
These are three examples of internal and external bridges which can allow moisture/water to pass by or travel up past the Damp Proof Course and cause rising damp. Debris from when the property was built could also ‘build up’ in the wall’s cavity, again allowing damp to rise. If you are in any doubt, contact a local property repair tradesman to inspect for causes of damp from over-ridden DPCs.
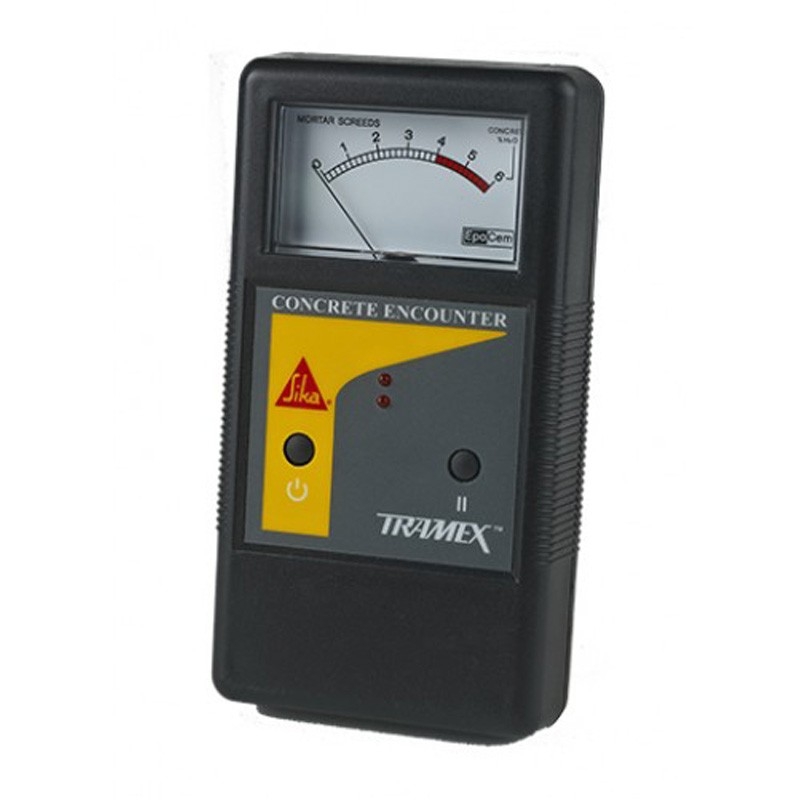
Check outside of the property to minimise or remove moisture sources. Check for damaged drains, gutters and downpipes that may cause pooling of salt water on the ground. If there is an external tap on the wall of a property, it may be worth using a moisture meter to test moisture conditions in the concrete. Alternately, a relative humidity, temperature and dew point handheld device could be used for internal checks.
Sika Tramex Moisture Meter
|
Sika Tramex Hygrometer
|

Repairing Rising Damp Damage
Step 1: Creating a Damp Proof Barrier
Once the checks have been completed and the area that has been affected by rising damp has had any and all damaged render/plaster removed, it is time to create a new damp proof barrier.

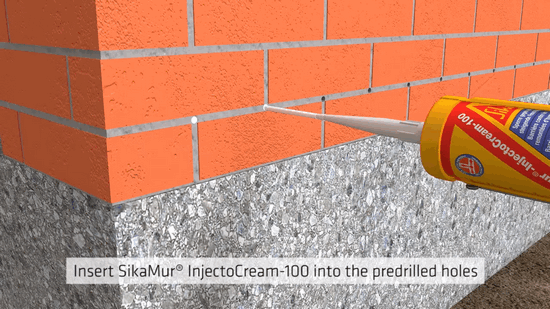
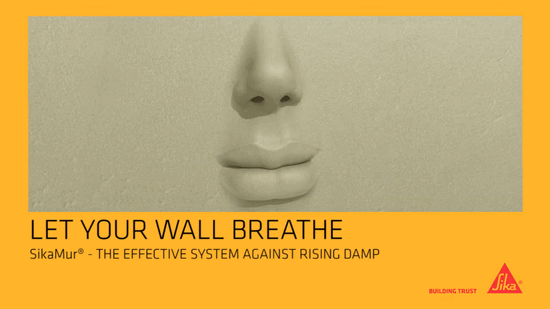
The best product to treat the affected walls is SikaMur InjectoCream 100 (see the product video below, with instructions on how to use it to create a new DPC).
SikaMur InjectoCream 100
|
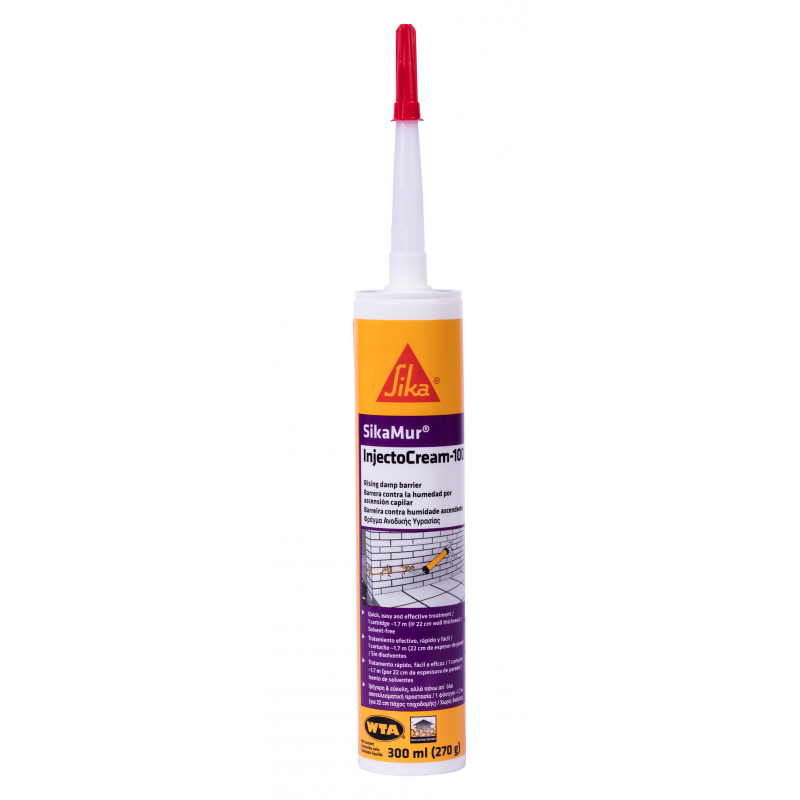
Transcribed from the video:
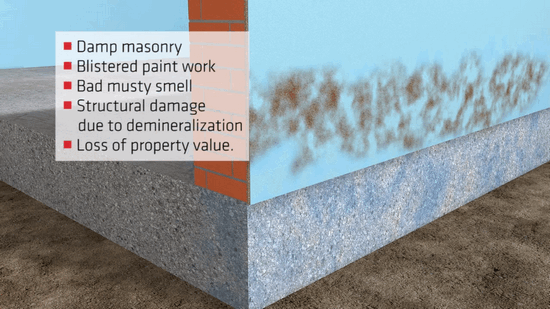
Problem: Water rises by capillary action, which leads to:
- Damp masonry
- Blistered paint work
- Bad musty smell
- Structural damage, due to demineralization
- Loss of property value
Solution:
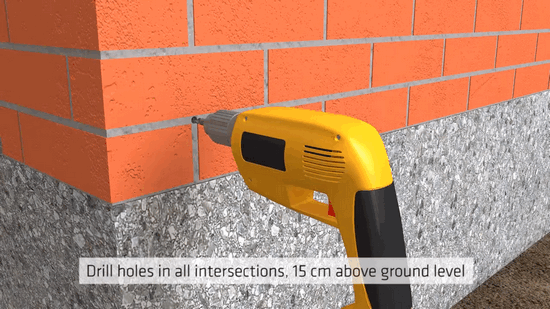
- Remove all surface contamination and loose material
- Drill holes in all intersections, 15cm above ground level
- Clean each hole by using a clean compressed dry air bowel
- Insert SikaMur InjectoCream 100 into the predrilled holes
- Injectable damp proof course (DPC into a wall)
- Chemical barrier to stop water passing from one place to another
- Using a simple application gun
- Material diffuses with the damp wall and forms a water repellent barrier
- Follow Step 2 and Step 3 (below)
Step 2: Repairing Damage to Walls
As described in the video tutorial, once a new DPC has been created, it is time to re-instate render/plaster either internally, externally or both.
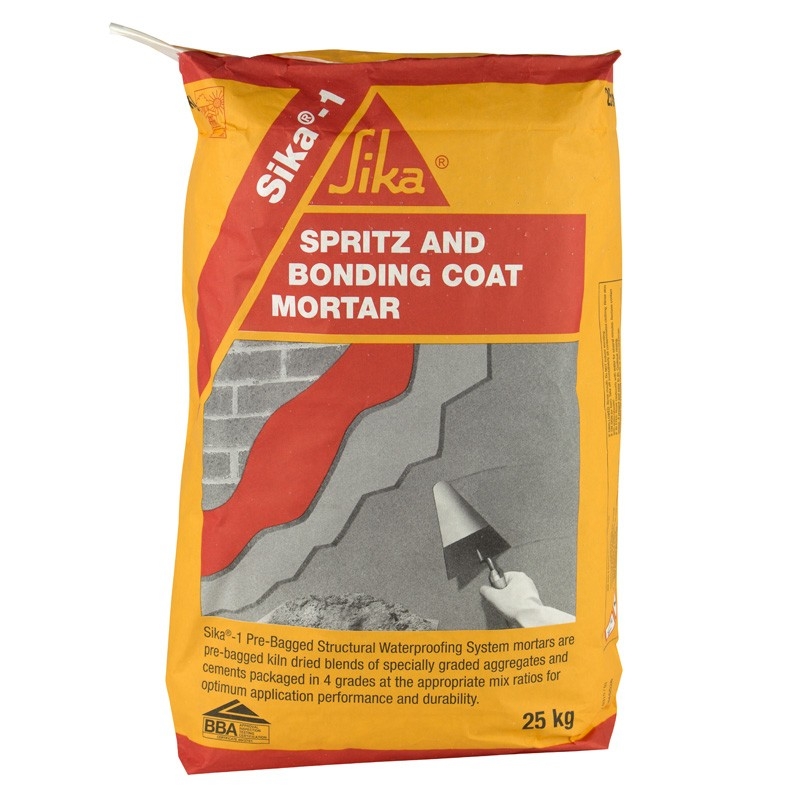
To do this, apply Sika 1 Waterproofing System to the walls, as follows (datasheets provided on each products’ page):
- 1st layer/coat Sika 1 Spritz and Bonding Coat Mortar @ 6mm
- 2nd coat Sika 1 Render Mortar @ 6mm
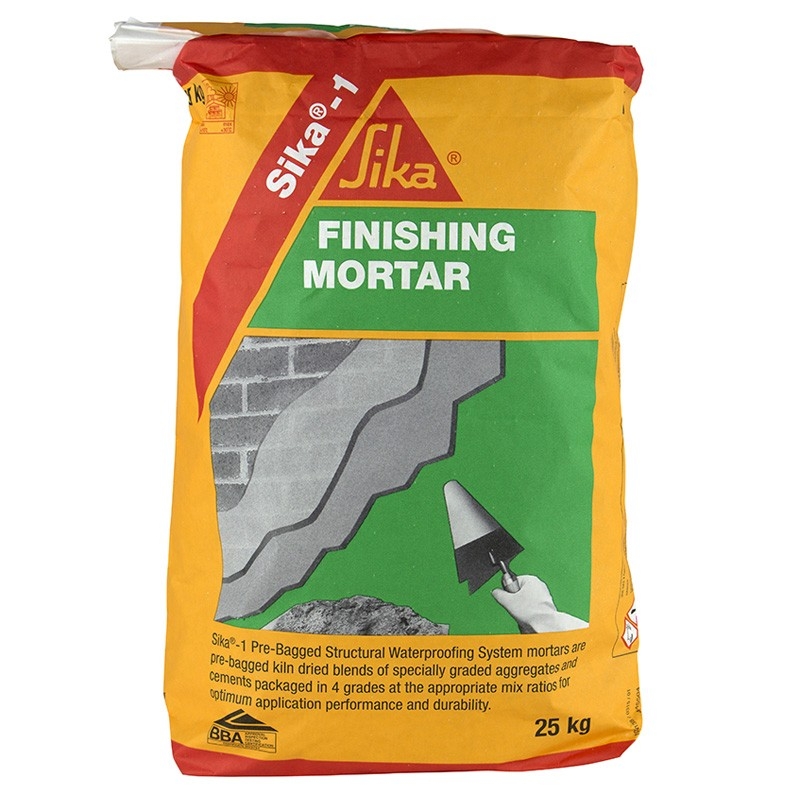
- 3rd coat Sika 1 Finishing Mortar @ 6mm
Total System Thickness – minimum 18mm (Additional coats of Sika 1 Render Mortar can be applied if necessary).
Sika 1 Spritz and Bonding Coat Mortar
|
Sika 1 Pre-Bagged Screed Mortar
|
Sika 1 Finishing Mortar
|
Step 3: Decorating Interior and Exterior Walls
Once the wall has been re-plastered/render reapplied, it is time to decorate it with a suitable, high quality and preventative coating.
For this, externally, we recommend applying one coat of Sikagard 552 W Aquaprimer and two coats of Sikagard 550 W Elastic. Internally, two coats of Zinsser Grade 1 should be used.
Sikagard 552 W Aquaprimer is a clear adhesion promoting primer, with Sikagard 550 W Elastic being the top crack-bridging protective coating, for concrete. Available in over 100 different colours, these two products comply with the requirements of EN 1504-2 as a protective coating on external normal and lightweight concrete.
Zinsser Grade 1 wall and ceiling paint is a high performing product for the decoration of modern, traditional and historic buildings. This primer, sealer and finish in one coating is available in hundreds of different colours and is re-coatable in two hours.
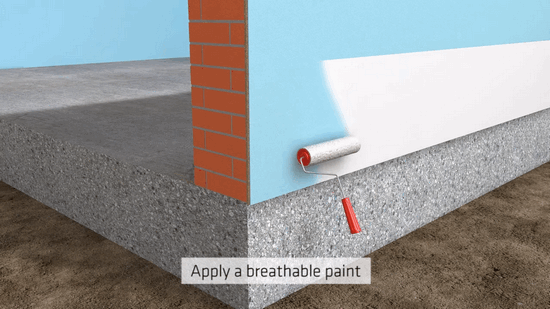
Crucially, both of these paint systems are microporous, allowing the walls to ‘breathe’ and let any trapped moisture pass out of them safely.
Sikagard 552 W Aquaprimer
|
Sikagard 550 W Elastic
|
Zinsser Grade 1
|

Looking to the Future
Additional Products We Recommend to Keep Damp, Fungal Growth and Mould at Bay
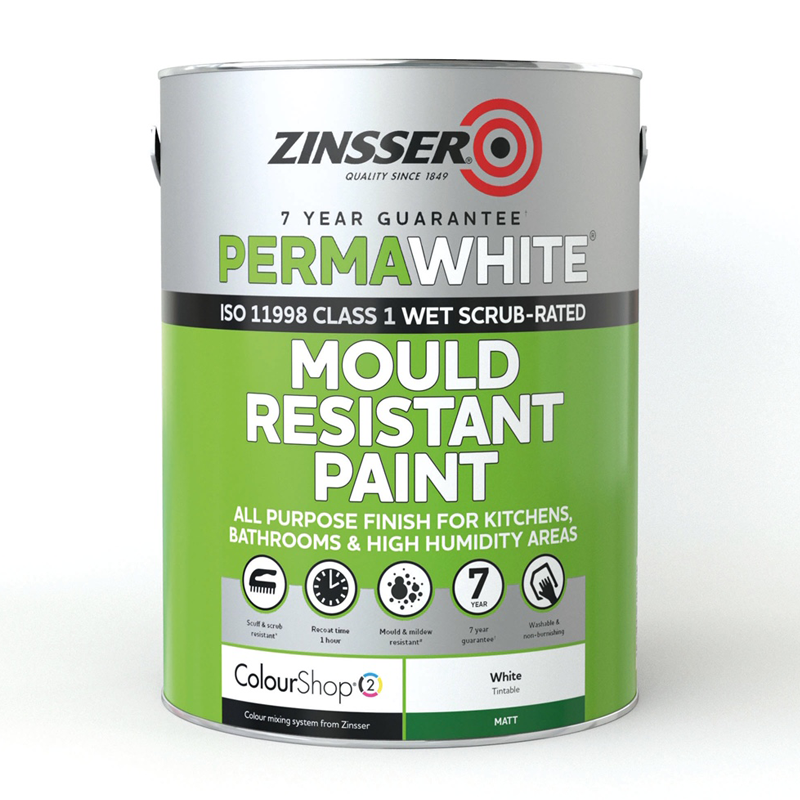
Using high quality mould and damp proof paint on internal walls can combat rising damp causing fungal growth, mildew and discolouring mould. Although these paints can’t directly prevent rising damp they can limit the impact on the rest of your property before, during and after dealing with it. In particular, Zinsser Perma-White Interior Paint guarantees up to five years’ protection against fungal degradation. It also works well in high humidity zones, like bathrooms, laundry rooms and kitchens. It is suitable for domestic and commercial use, with its satin finish being extremely resilient to even the harshest scrubbing.
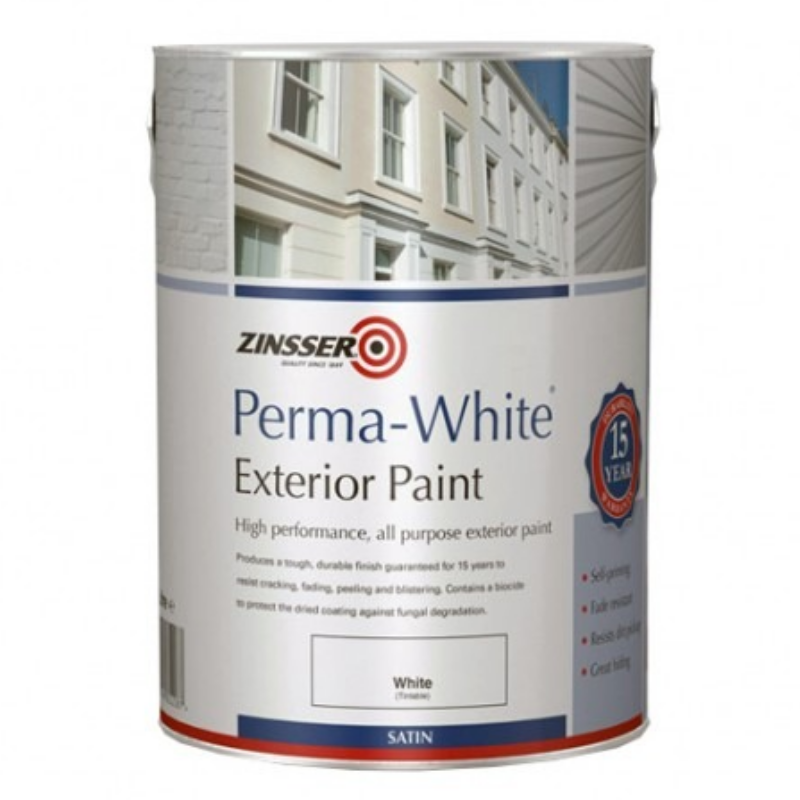
To partner up with this aforementioned interior anti-mould paint Zinsser have an external Perma-White paint, too. It can be used on your home, business or commercial property – from small outhouses to hospitals!
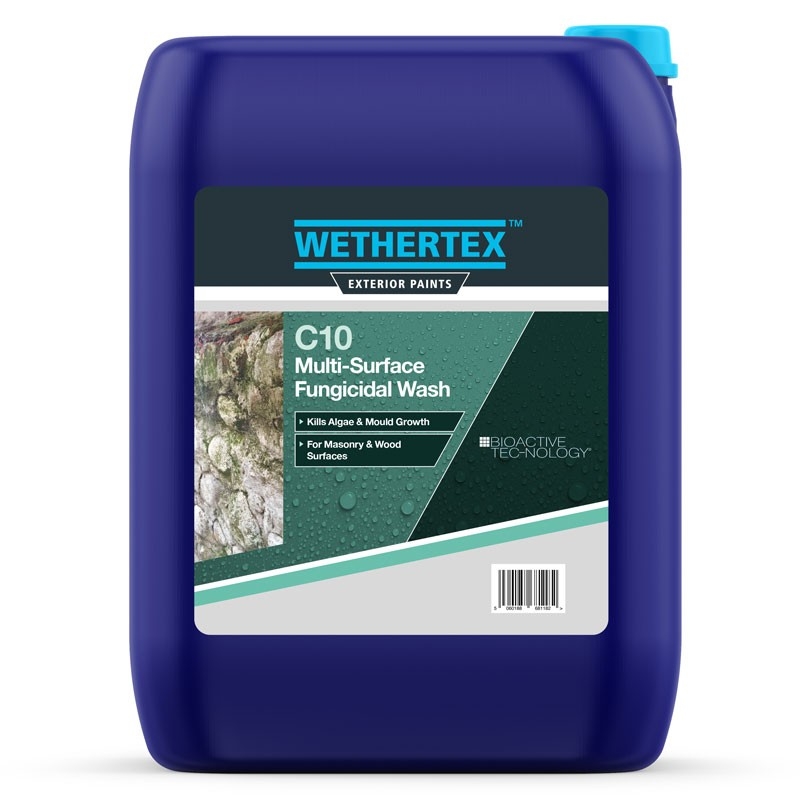
Of course treating mould, fungi and mildew starts with the cleaning process – with many people simply Googling how to clean mould from bedroom walls. Zinsser’s Mould Killer AND Remover is a brilliant product for cleaning internal walls – tiles, wood, plaster and wallpaper included. Externally, Wethertex C10 Multi-Surface Fungicidal Wash controls and treats fungal and algae growth in just 24 hours on external hard surfaces.
Zinsser Mould Killer & Remover
|
Wethertex C10 Multi-Surface Fungicidal Wash
|
Zinsser Perma-White Interior
|
Zinsser Perma-White Exterior
|
There is no guarantee (for some properties) that rising damp will never return, as there could be changes to external drainage, plumbing problems or leaking pipes, broken guttering, unoccupied periods of time, or changes made to the internal/external wall structure – extensions or conservatories added. It is therefore worth doing regular spot-checks of your property. Inspect carpet around the wall, touch the paintwork or wallpaper around skirting boards (checking for moisture or damp), keep these areas as ventilated as possible during winter months, and keep checking back at Rawlins Paints’ blog for more technical knowledge about the health of your property.
Thanks for sharing some tips for treating rising damp. I didn’t know that it can be a reoccurring problem if you don’t treat it correctly. I have noticed a line on my walls outside of my house. It seems like the best thing for me to do would be to speak with a professional who can assess the damage.
We have a damp problem with the chimney breast in our kitchen. The damp covers the entire width of the chimney breast and is around 3-4ft high. However it doesn’t have mildew or brown tide marks, no obvious salt deposits or odour. Could this be rising damp or something else? Any advice would be greatly appreciated!
Hello Emma,
A couple of questions for you, in response to the damp problem you are having:
1. Is the chimney breast backing on to a neighbours house, and are they also having damp problems?
2. Is it a closed chimney? When was the last time it was cleaned too, as there may be debris (leaves, etc.) at the bottom which are ‘holding’ water, which may be causing the damp.
3. Was the chimney decorated by yourself, and were the bricks or concrete sealed, prior to painting?
4. Are there any plumbing pipes that run near the chimney breast, from the kitchen or a bathroom upstairs?
5. You say the damp is only on the chimney breast and not on the walls next to it?
Could you take a look at this post too, with more info about anti-damp and anti-condensation paint and get back to us, where we can hopefully help you more from the above questions.
Thanks.
Mark
Hello there, great post. The insight of this post is very helpful. Damping of walls has been a never ending problem for households and evermore in the monsoons. Precautions are very much needed. Thanks for the share.
Nice post, thanks for the sharing such a informative post. The post really helps to cure rising damp. With the cold, dark and rainy days, damp issues show up more often.
Will your product treat concrete block walls??
Hi Lister,
Thank you very much for taking the time to read our blog and for your question. For us to be able to advise you for your project please could you get back to us with a few more details? If you could please let us know what material is being painted, if it is bare or previously painted, and where it is, i.e. basement room, kitchen etc.
Also please could you let us know what the cause of the damp is (if known), is this rising damp, hydrostatic pressure etc?
Once we have this information we will be able to assist accurately and we look forward to hearing back from you.
Many thanks
Stuart