 Rawlins Paints Blog Industrial Paint Tips, Guidelines & DIY Articles

Our 3-step guide below explains how to paint over varnish, preparing and finishing woodstained or varnished surfaces effectively, without all the tedious sanding, using Zinsser products to prime, seal and decorate quickly.
Quick Links
Click below to jump to section:

The Benefits
Zinsser work with contractors to create problem-solving products that meet “real world” challenges, such as painting over previously-woodstained or varnished surfaces, providing tried and tested solutions to painting problems.
For businesses moving into new premises, hidden surprises await that could add extra time to refurbishment and delay the grand opening, preventing service to customers and hurting profits.
Landlords taking on new properties will want them returning to the rental market quickly to find new tenants.
Zinsser products properly seal and prime woodstained or varnished surfaces quickly and without the back-breaking sanding you might expect; for decoration, the finish coat is available in over 4,000+ colours from RAL, NCS, and British Standard in matt, satin and semi-gloss finishes, easily matching existing company branding themes and existing interior décor.
Step 1. Surface Preparation
Ensure the surface is clean and dry, removing anything that could interfere with the application and adhesion of Zinsser products and materials to be applied. Loose and failing materials should be removed either by scraping or through the use of a hot air stripper to a sound edge, feathering the edge with a fine grade abrasive paper.
The moisture content should not exceed 12%, prior to painting.
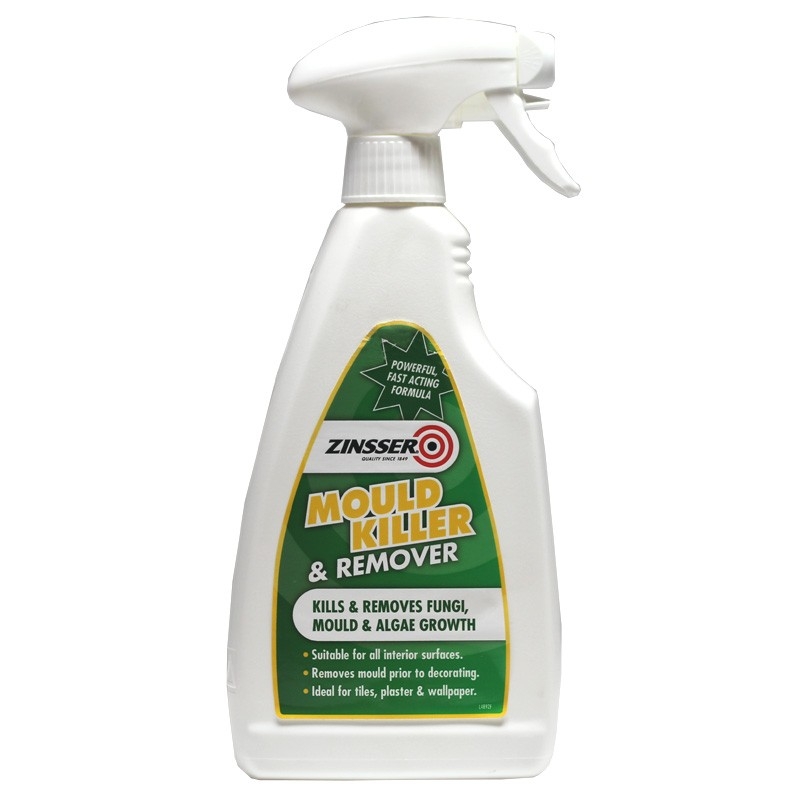
Remove all dust as well as any visible signs of organic growth, treating those affected areas with Zinsser Mould Killer & Remover in accordance with the manufacturer’s instructions, and allowing to dry.
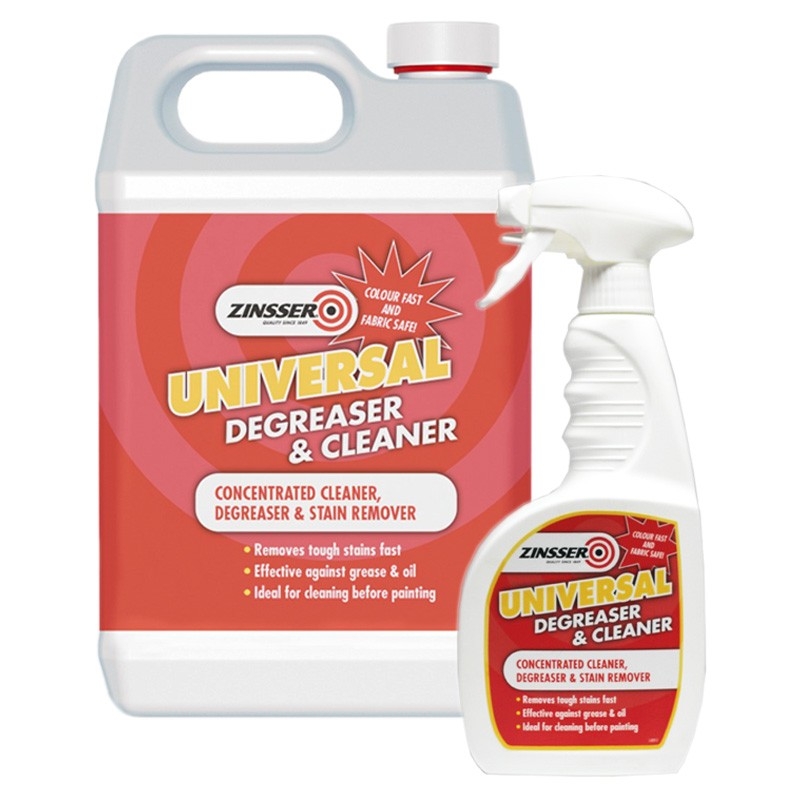
For any remaining sound paint, clean those areas down to remove any contaminants with Zinsser Universal Degreaser & Cleaner, thoroughly rinsing with clean water to remove all residue before allowing to dry.
Use methylated spirit to thoroughly degrease the surface, changing cloths regularly.
Ensure all silicone polish/wax is removed before filling any remaining cracks and small surface defects, using a suitable filler in accordance with the manufacturer’s instructions and allowing to dry before rubbing down the surface with a fine grade abrasive paper.
Remove all dust before moving on to priming.
Zinsser Mould Killer & Remover
|
Zinsser Universal Degreaser & Cleaner
|
Step 2. Priming
Which Zinsser primer to use on varnished wood?
The areas to be decorated should be primed with one full coat of Zinsser B-I-N Primer Sealer, in accordance with the manufacturer’s instructions, allowing a minimum drying time of 45 minutes (in normal drying conditions).

Step 3. Decoration
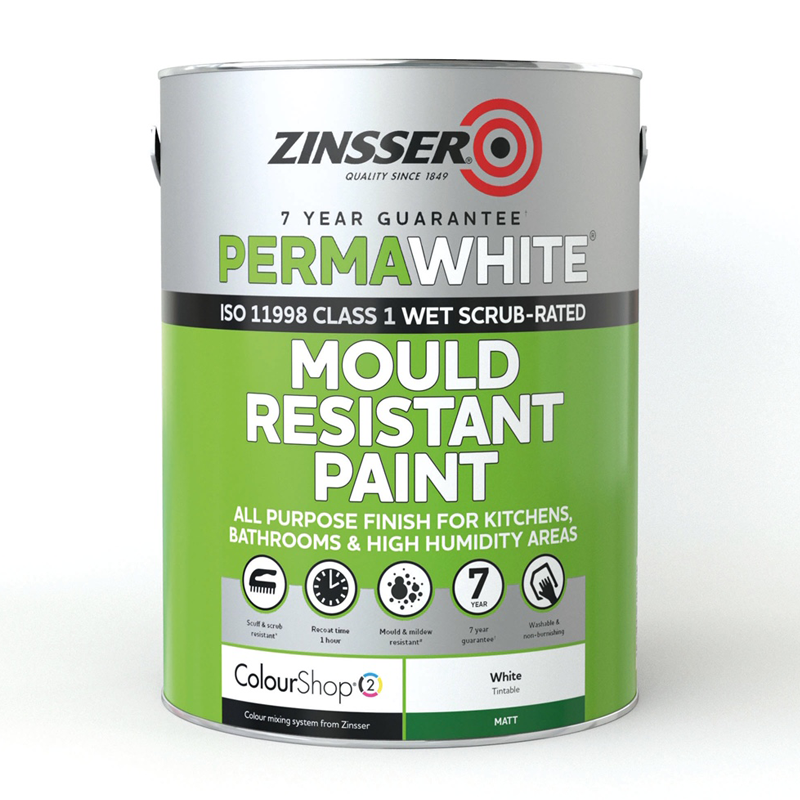
Now the woodstained or varnished surfaces have been suitably prepared and primed they can be decorated with two full coats of Zinsser Perma-White Interior, in accordance with the manufacturer’s instructions, allowing a minimum drying time of two hours between coats.
Zinsser Perma-White Interior is available in matt, satin, or semi-gloss finishes with over 4,000+ colours from RAL, NCS, and British Standard.
Zinsser Perma-White Interior
|
Note
It is recommended to stripe coat edges to promote adhesion.
More Information
If you require more advice on painting your woodstained or varnished surfaces, give our technical team a call on 0113 2455450 (option 2) or send a message to [email protected].
Further Reading
More resources on the topic of woodstained or varnished surfaces:
Exterior Wood Protection Products for Autumn, Summer, Spring and Winter
5 comments
Pingback: How To Paint MDF | Rawlins Paints Blog
Pingback: How To Paint Knotted And Resinous Timber | Rawlins Paints Blog
Pingback: How To Paint Glossy And Slick Surfaces | Rawlins Paints Blog
Pingback: How To Paint Denatured Timber | Rawlins Paints Blog
Pingback: Can You Apply Gesso Over Varnish? – Almazrestaurant