 Rawlins Paints Blog Industrial Paint Tips, Guidelines & DIY Articles
Is your garage floor starting to look worn out and a little under the weather? You can spruce up a concrete floor if you have the right tools in your kit. Overtime, concrete may wear away from a variety of reasons. If you have damp or mould, or heavy footfall you’ll notice the damage more.
So what can you do? Read on to find out.
Which coating?
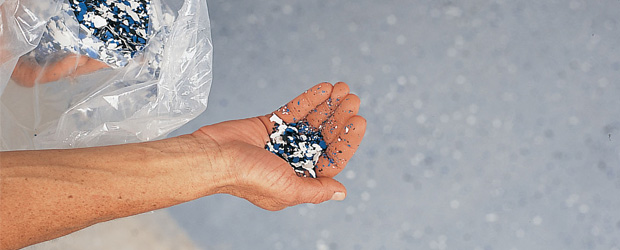
Today we’ll be taking you through using Rust-Oleum Epoxyshield Garage Floor Coating Kit. This floor coating kit contains a water-based epoxy coating, a cleaning solution, decoration chips, paint paddle and an instruction DVD. Everything you need!
If you’re not sure if you can manage. These tips will give you an idea of how the kit works, though remember you’ll also have a DVD to help you through the process.

Why use a kit?
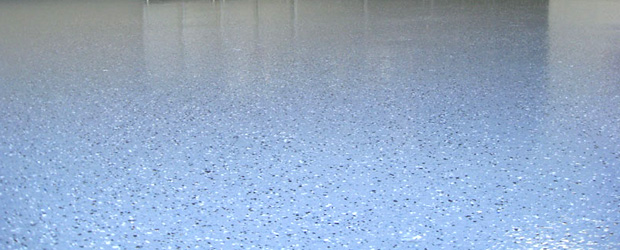
We like this kit because it’s so easy to apply and it has incredible adhesion and durability. It’s ultra resistance and has excellent wear, even in environments with heavy foot fall and vehicle traffic. Not only that, but it’ll resist chemicals and standing water. Both of these things can lead to the surface eroding. Good protection will keep it looking it’s best.
Where can I use it?
If you want to spruce up your old concrete garage floor with this kit, as long as it’s a concrete surface you’ll be able to use it. Make sure the surface is clean and dry or you won’t get the professional finish you expect! It’s a fantastic kit to use anywhere that may need to be resistant to petrol, motor oil, salt and hot tire pick-up. We only don’t recommend you to use it if the surface is smooth or dense or contains a curing compound. This will prevent a good adhesion!

How do you apply it?
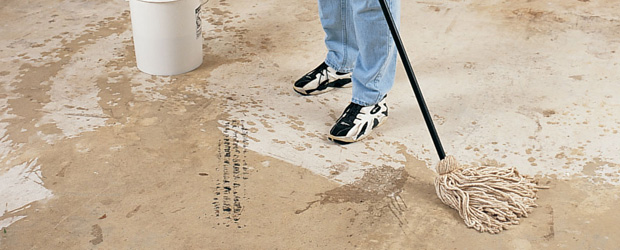
As we mentioned earlier, make sure that you remove any oil or grease spots from the floor. Use the cleaner in your kit by mixing all the cleaner with around 71/2-litres of water until dissolved. Pre-wet the floor and remove any standing water to avoid leaving puddles behind! Once you’ve spread the cleaner around, get scrubbing and make sure it’s nice and clean before you get ready to apply the coating. You need to be thorough and remember to wipe up any excess cleaner.
Once the floor is completely dry, following the instructions pour A into B and give it a good stir. Before you use the product, you’ll want to let it stand before you apply it to the surface. Then, before applying give it a good mix and you’re ready to go!
Luckily you’ll have the complete kit in your hands, and you’ll only usually need one coat. You won’t even need a primer. Remember, this kit comes with a DVD with detailed instructions, so follow along to make sure you don’t miss any steps!
There you have it! Everything you need in a simple kit. If you do have any queries though, the friendly team at Rawlins Paints can help you out.
One comment
Pingback: Concrete Floor Repair | Garage Floor Products | Rawlins Paints