 Rawlins Paints Blog Industrial Paint Tips, Guidelines & DIY Articles
What You’ll Need:
- Rust-Oleum Tile Transformation Kit
- Sugar Soap Cleaner
- 100mm Roller Frame
- 50mm Synthetic Paint Brush
- Paint Tray
- 50mm Masking Tape
- Caulk
- Disposable Gloves
- Protective Glasses
- Dust Sheets
- Lint Free Cloth/Rags
- Mop and Bucket
- Foam Brush
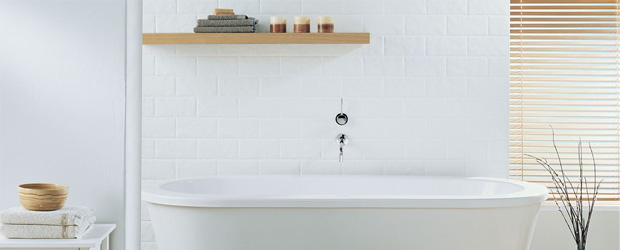
1. Measure the tile area and work out how many kits you will need. Tile surfaces must be clean before applying Rust-Oleum Tile Transformations to ensure proper adhesion. Using the scrub pads provided and a Sugar Soap cleaner, scrub the entire surface to remove mould, mildew, dirt, dust, grease and soap scum. Thoroughly rinse to ensure all soap residue is gone. Run your hand along the surface and repeat the cleaning and rinsing process until the tile has a smooth, glossy finish. Plug the drain and remove all caulk around the bath, counters, ledges, mirrors and shower heads. Inspect the grout between tiles, checking for cracks, chips and holes, it is important to repair grout before moving onto the next step.
2. Use 50mm masking tape to mask off the edges of the tile that meet the wall and fixtures that cannot be removed. Cover the bath and floor and other surrounding areas with dust sheets. Contents of the base coat and activator are flammable until applied to the surface. Be sure to turn off flames and pilot lights, stoves, heaters and electric motors including the bathroom extractor fan until the textured coat is dry. Your bath and shower should already be covered with dust sheets.
3. Wearing disposable gloves and protective glasses, carefully pour the entire contents of the part 2 activator into the part 1 base coat and thoroughly mix with the provided stir stick for at least 2 minutes. Pour approximately a quarter of the mixture into a tray and cover the remaining paint. Keep in mind the textured coat has a 90 minute working time. If possible, we would recommend you work with a partner in small manageable sections. The first person can then apply the textured coat, using a 50mm synthetic brush, to the outside edges and corners. The other person can follow on behind using the roller.
4. Work row by row, from top to bottom. Apply the textured coat using long strokes, apply vertically and then horizontally. Use a brush to dampen any grout areas you might have missed. Wait 4 hours to remove all tape. This is an important step as the tape will be very difficult to remove once the textured coat cures. Allow the textured coat to cure for a full 8 hours or overnight. Your shower or bath areas will then be ready for full use. Before full use re-caulk bath surrounds, ledges, worktops, mirrors, shower heads and other affected areas. Follow manufacturers instructions and allow for the coating to dry fully before using the bath area.