 Rawlins Paints Blog Industrial Paint Tips, Guidelines & DIY Articles
Follow our 4-step guide below for quick and cost-effective painting of surfaces subject to high humidity, using hygiene coatings such as Zinsser anti condensation paint products for properly prepared and quickly finished decoration in areas such as bathrooms, kitchens, changing rooms at swimming pools, etc.
High humidity environments are tough on painted surfaces with water vapour in the air and splashes often causing paint to peel. Such imperfections can help provide a warm and moist place for fungus to grow, which can be a health risk as well as unsightly on walls and ceilings.
Quick Links
Click below to jump to the corresponding section
Step 2. Cracks and Surface Defects

The Benefits
Why use Zinsser products? They help businesses re-open quickly, leaving them able to serve customers and provide services without the disruption of lengthy closures.
Landlords can return a rental property to market much sooner, knowing issues caused by high humidity won’t cause a problem for new tenants.
Homeowners can get back to living in a comfortable space instead of coming home to unsightly and degraded paintwork.
Using Zinsser products will properly prepare and finish surfaces quickly without costing a fortune, making them ideal for professionals painting walls and ceilings such as changing rooms, and landlords and homeowners redecorating kitchens and bathrooms in houses, pubs and restaurants, and other areas subject to high humidity.
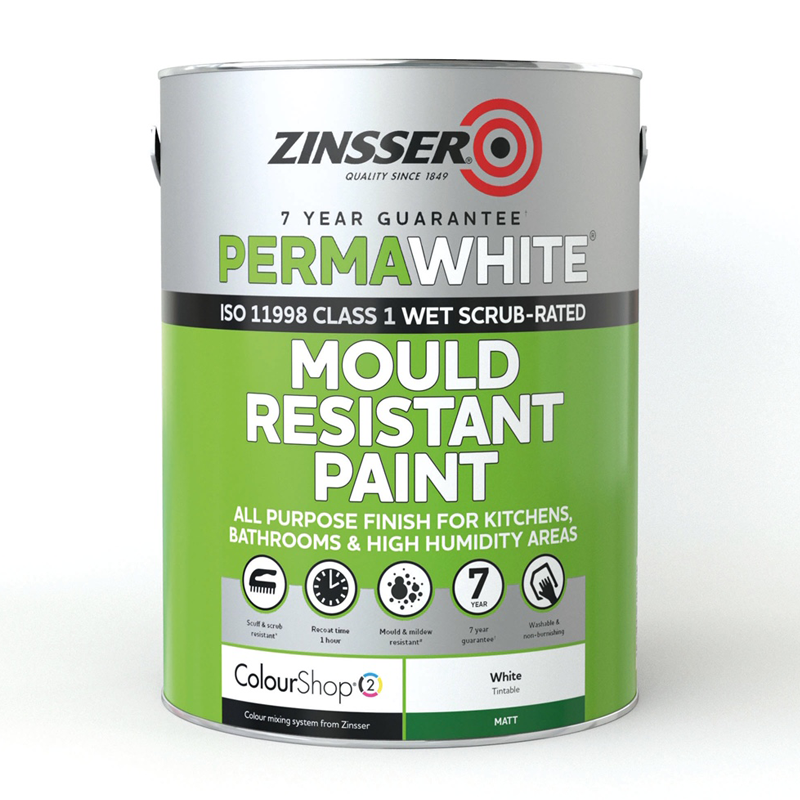
Zinsser Perma-White, for instance, performs exceptionally in high humidity environments and prevents fungal degradation for a guaranteed 5 years, providing a choice of over 4,000+ colours from RAL, NCS, and British Standard to help match existing décor or corporate branding.
Step 1. Surface Preparation
Before starting, ensure that surfaces are clean and dry; the surface should be free from anything that could affect and interfere with the adhesion of Zinsser products and materials that will be applied.
Loose material should be removed by scraping or brushing, using a stuff-bristled brush to a sound edge.
Prior to painting, the moisture content should not exceed 12%.
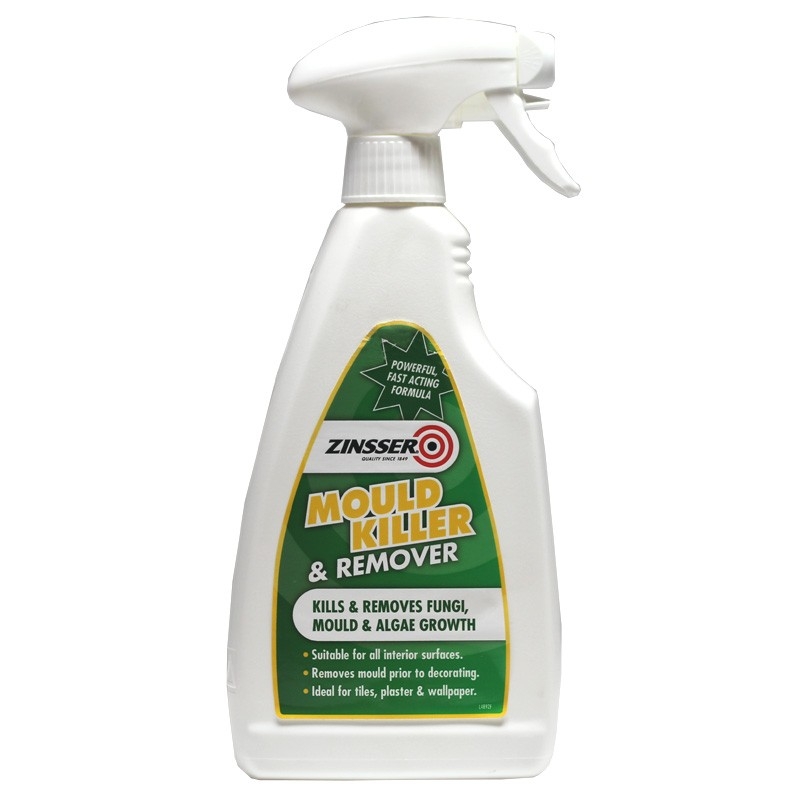
All visible signs of organic growth should be removed, with the affected areas treated with Zinsser Mould Killer & Remover, in accordance with the manufacturer’s instructions, and the area allowed enough time to dry.
Zinsser Mould Killer & Remover
|
Step 2. Cracks and Surface Defects
Use a suitable filler, as appropriate in accordance with the manufacturer’s instructions, to fill any cracks and small surface defects, and allow it to dry before rubbing the surface down with a fine grade abrasive paper.
Remove all dust and move on to step 3 below.
Step 3. Priming
Prime all over the surface with one full coat of Zinsser Bulls Eye 1-2-3, in accordance with manufacturer’s instructions.
Bulls Eye 1-2-3 Primer offers fast drying times, touch dry in 30 minutes and able to be recoated after just an hour.
Zinsser Bulls Eye 1-2-3
|

Step 4. Decoration
Now that the surface has been suitably prepared and primed, decorate with two full coats of Zinsser Perma-White Interior in accordance with the manufacturer’s instructions, allowing a minimum drying time of 2 hours between coats (in normal drying conditions).
Available in Matt, Satin or Semi-Gloss finishes, Perma-White Interior Paint has over 4,000+ colours from RAL, NCS, and British Standard to pick from.
Zinsser Perma-White Interior
|
More Information
If you require more advice with painting surfaces in high humidity environments with anti condensation paint, or you’re trying to match a colour that you can’t find on our site, give our technical team a call on 0113 2455450 (option 2) or send a message to [email protected].